While working on a Power Apps project, a client asked me to navigate between screens with some transition effects. Fortunately, Power Apps provides a function called Navigate() to achieve it very easily.
In this article, I will explain the navigate function in Power Apps and various screen transitions.
Also, we will discuss how to use the Power Apps button to get to the next screen; Power Apps to navigate to the previous screen, Power Apps update context, etc. With different examples.
Table of Contents
Navigate Function in Power Apps
The Navigate function in Power Apps is used to navigate between different screens in the app. It allows you to navigate to a specific screen.
Syntax: Navigate(Screen [, Transition[, UpdateContextRecord]])- Screen: This is a required argument. Inplace of a screen argument, we need to provide the screen name we wish to navigate.
- Transition: This is an optional argument. Used for visual transition between one screen to another during navigation. The default value is None.
- UpdateContextRecord: Optinal argument. This screen updates the context variables in the new screen if we create variables inside this UpdateContextRecord.
Back function in Power Apps
The Back function in Power Apps returns to the recently displayed screen with the default return transition.
Syntax: Back([Transition])The Transition argument is optional here. It has options like Cover, Fade, CoverRight, etc.
Screen transition Power Apps
We use these screen transitions in the second argument of the Navigate function and in the Back function to specify how the old screen changes to the new screen.
Let’s start with some screen transition examples
Here, I’m taking one form example. While submitting the form, you can see various screen transition powerapps.
| Transition | Description | Examples |
| ScreenTransition.Cover | The success screen slides move right to left to cover the current screen. | 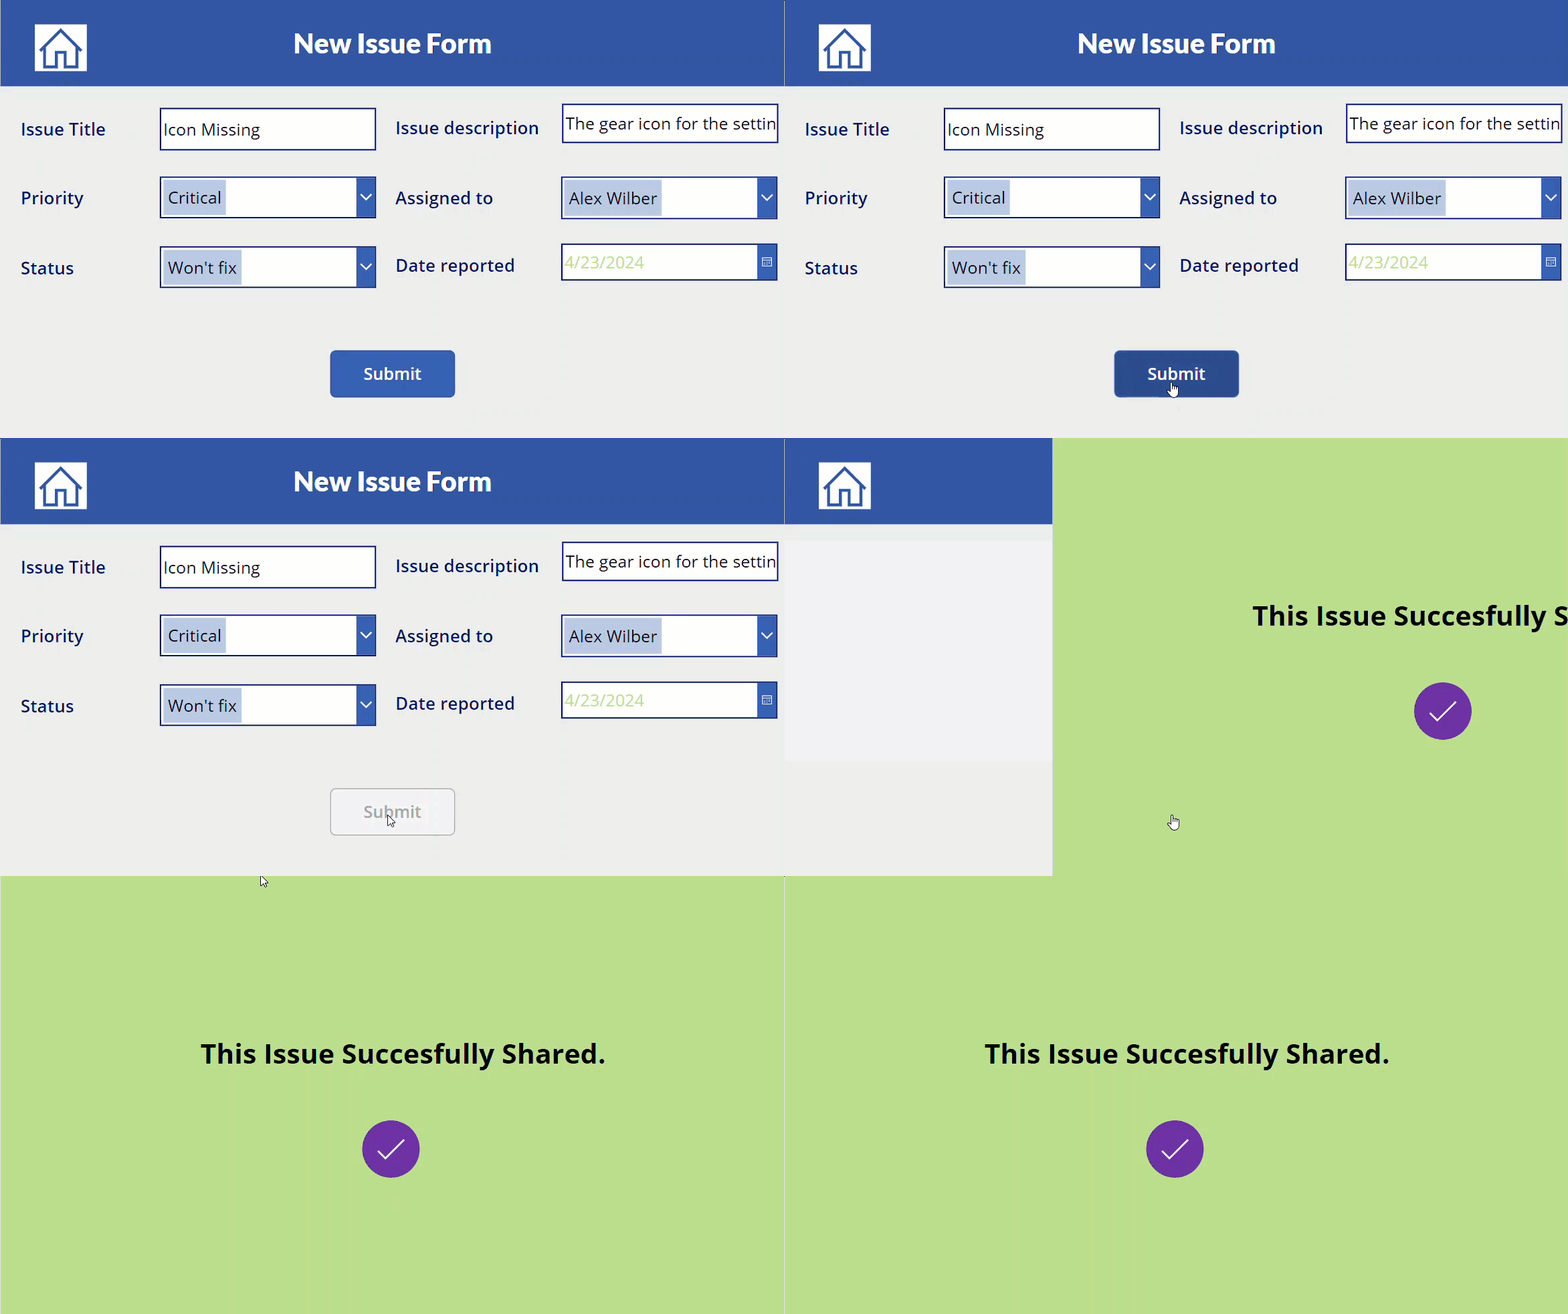 |
| ScreenTransition.CoverRight | The success screen slides move left to right to cover the current screen. | 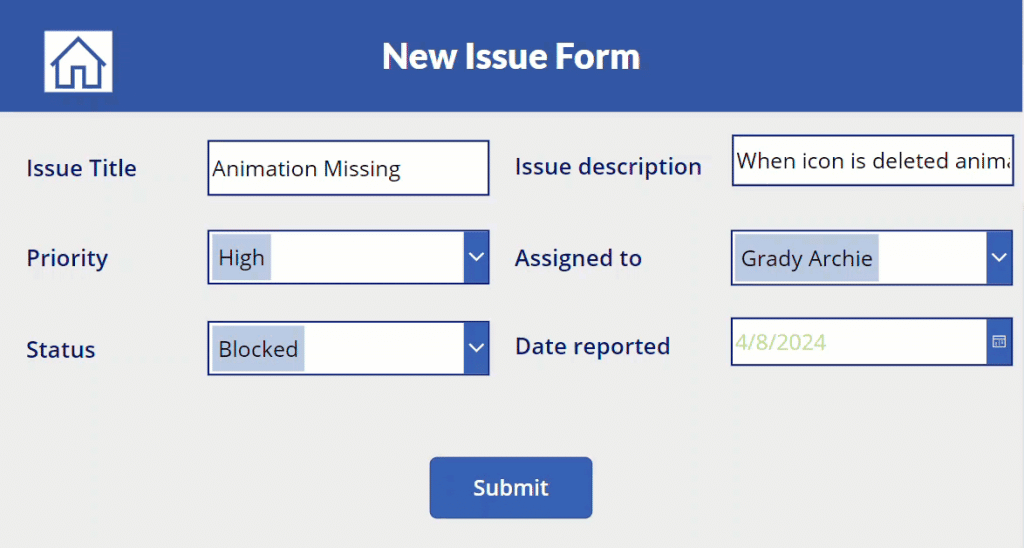 |
| ScreenTransition.Fade | The form screen fades away to reveal success screen. | 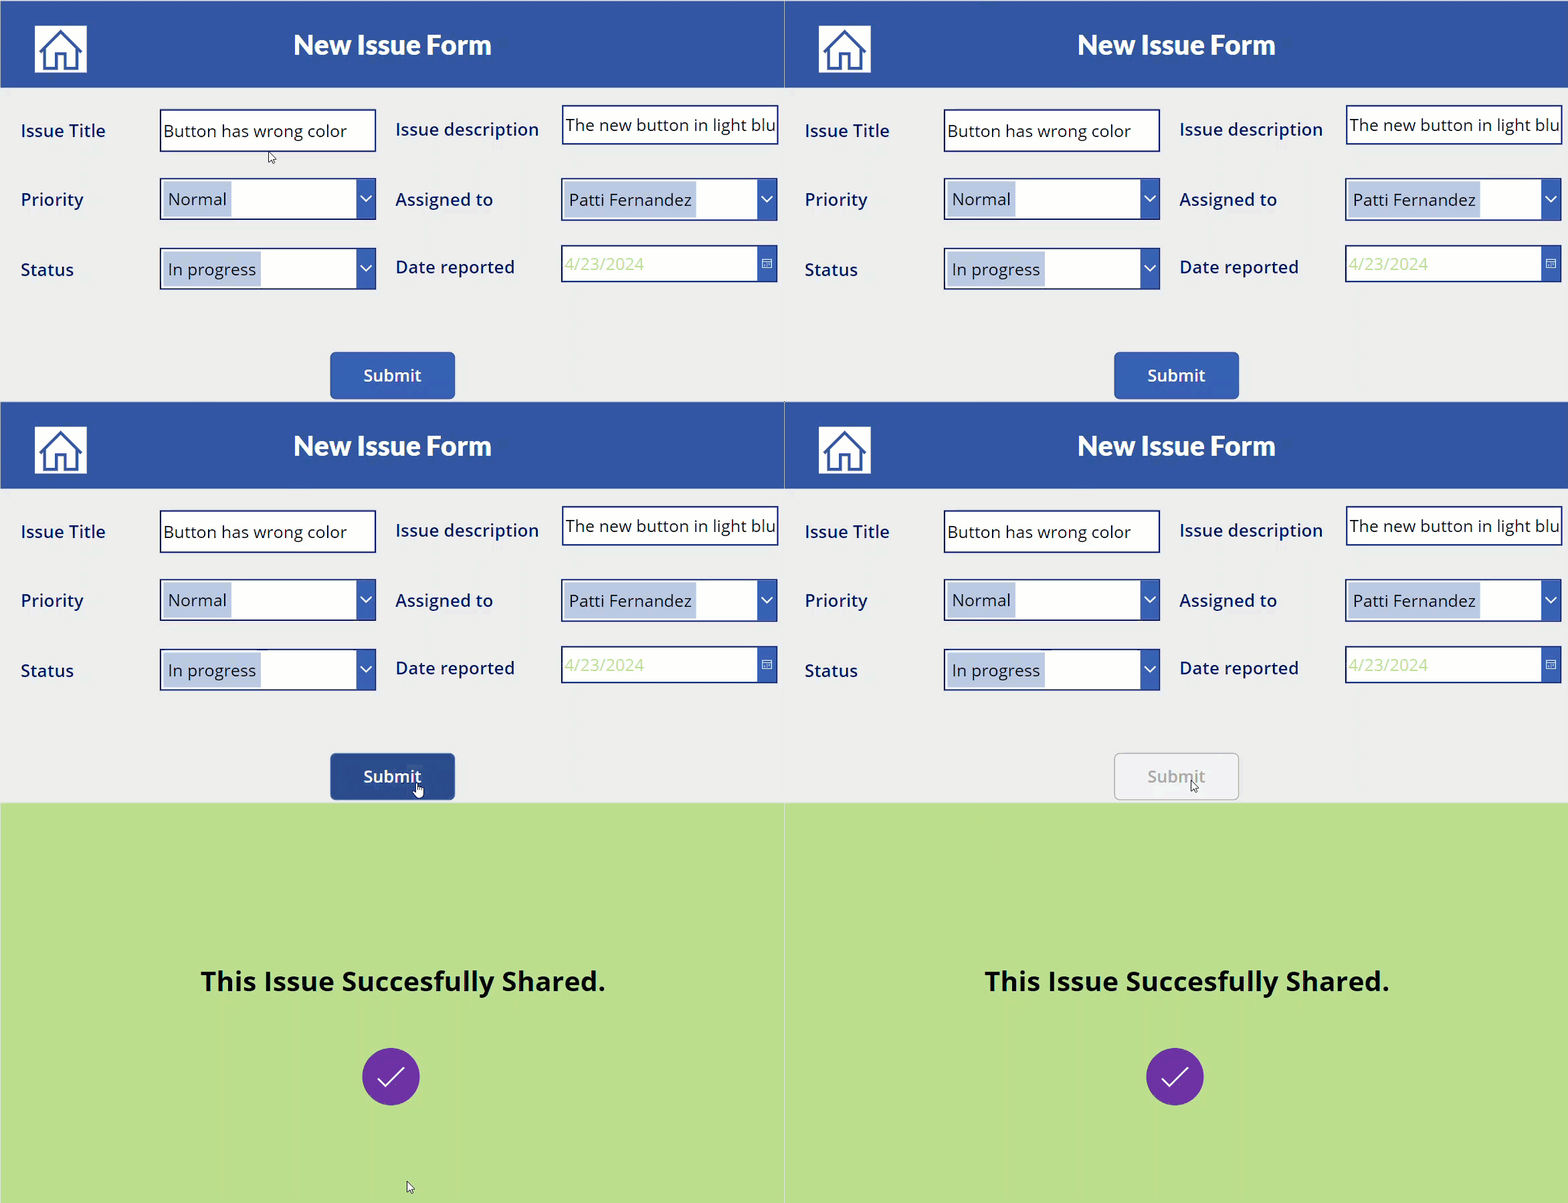 |
| ScreenTransition.UnCover | The current screen moves right to left to uncover the success screen | 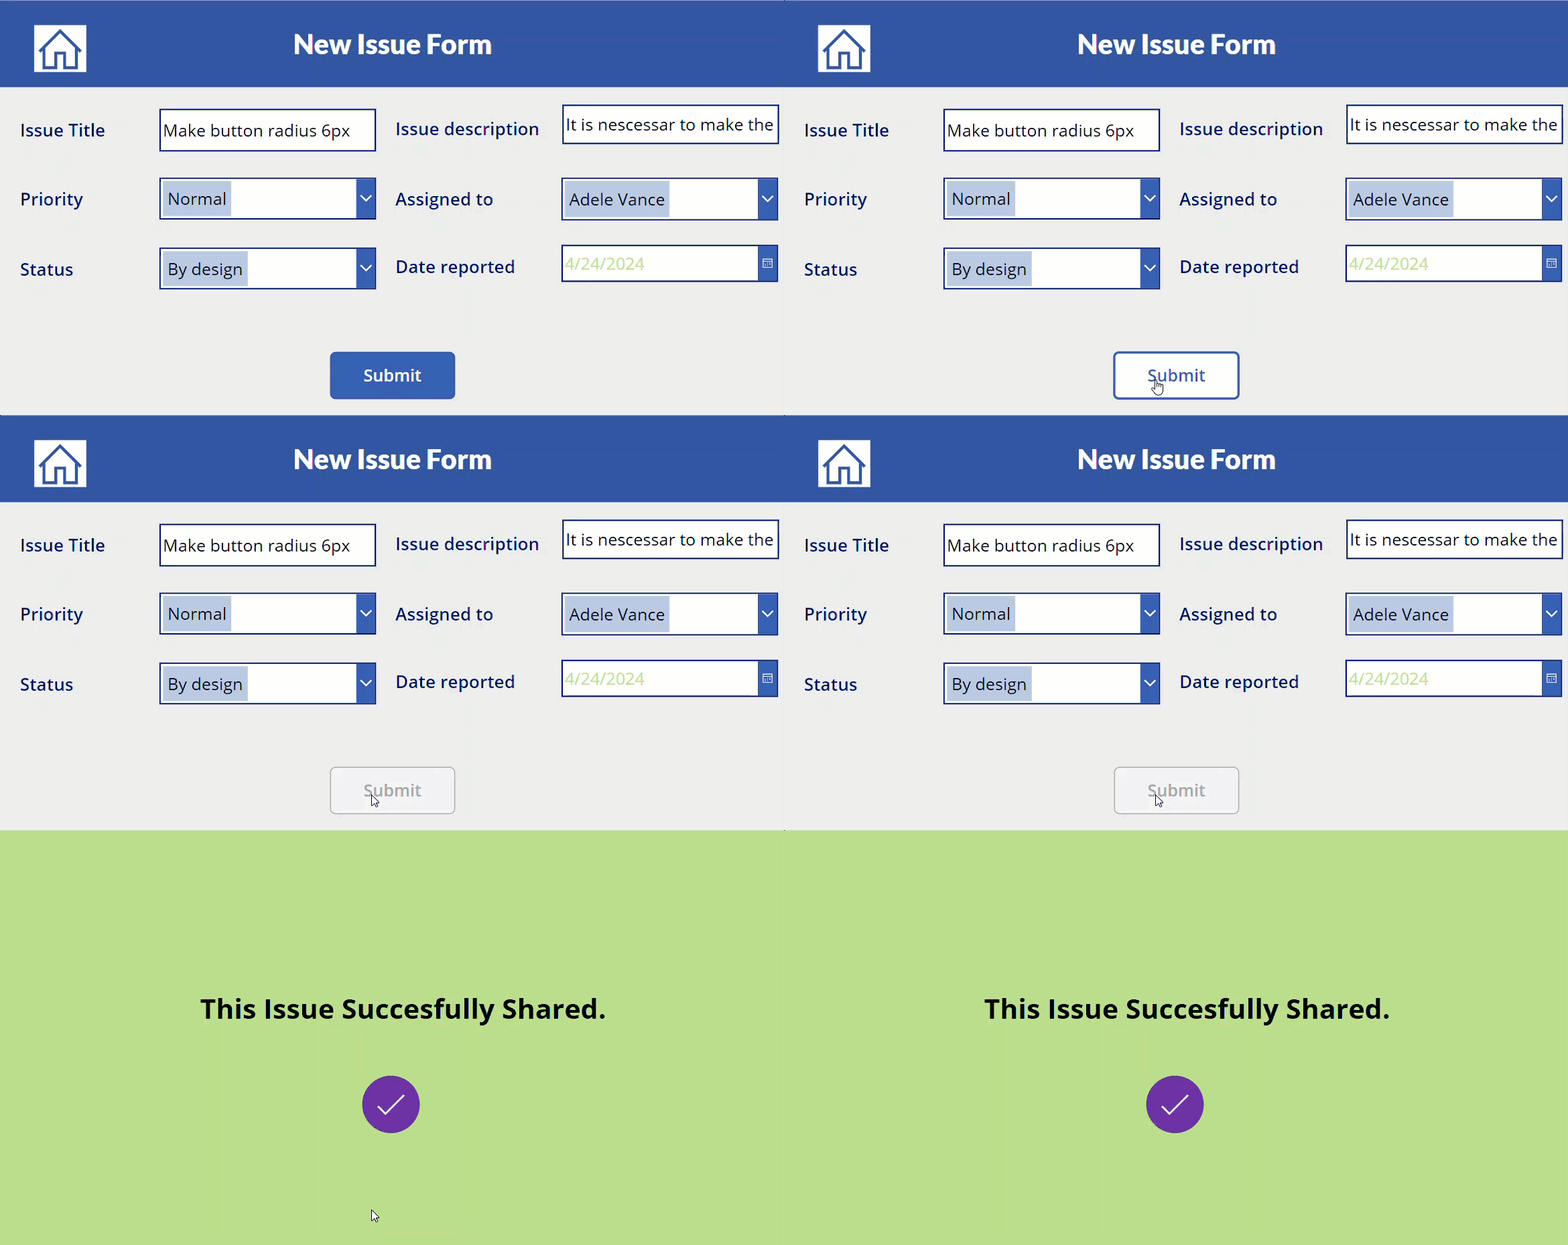 |
| ScreenTransition.UnCoverRight | The current screen moves left to right to uncover the success screen |  |
Power Apps button to the next screen
Here, we will see how to use the button control to navigate from one screen to the next screen.
Here, I’m taking three screens, which consist of the
- Welcome screen,
- Display form screen
- Edit form screen.
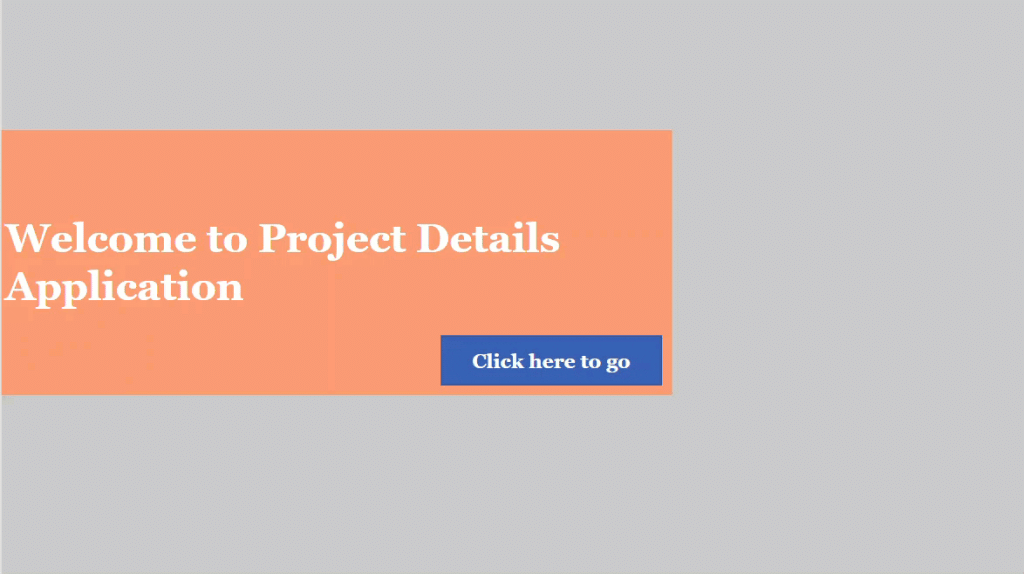
To achieve the above example follow the below steps.
1. Add a button control to the welcome screen. Then, put the formula in the Onselect property of the button.
Navigate('Project Details screen',ScreenTransition.Cover)In the above formula, the first argument is the display screen name, and the second argument is the screen transition property.
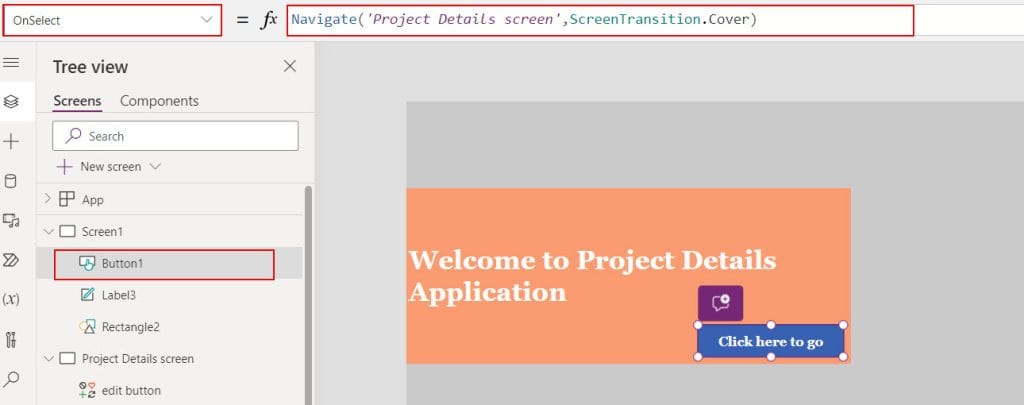
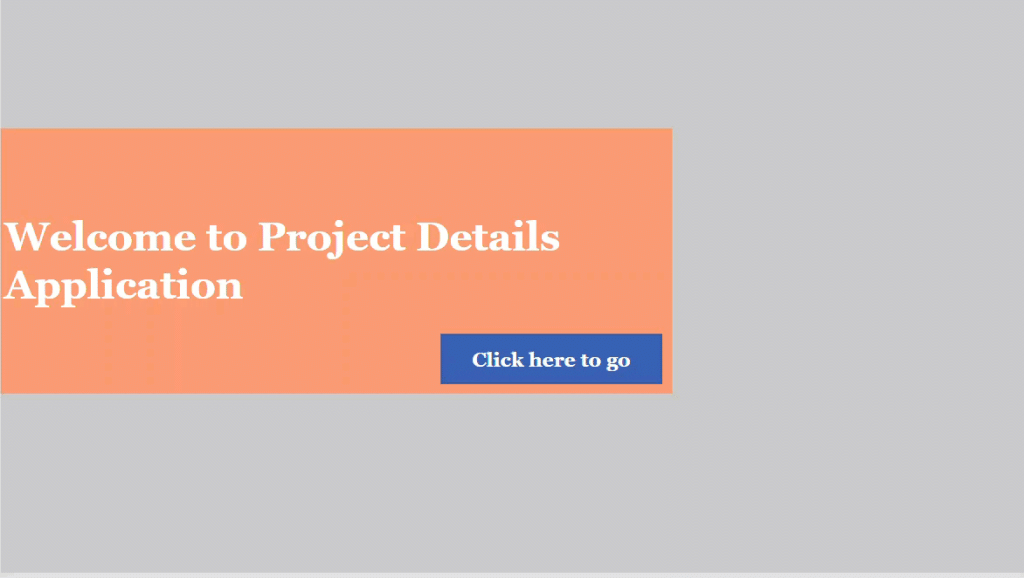
2. Now, check it once by previewing the app.
3. In the second screen, add one icon/button to navigate to the third screen.
Navigate('Add/Edit screen',ScreenTransition.CoverRight)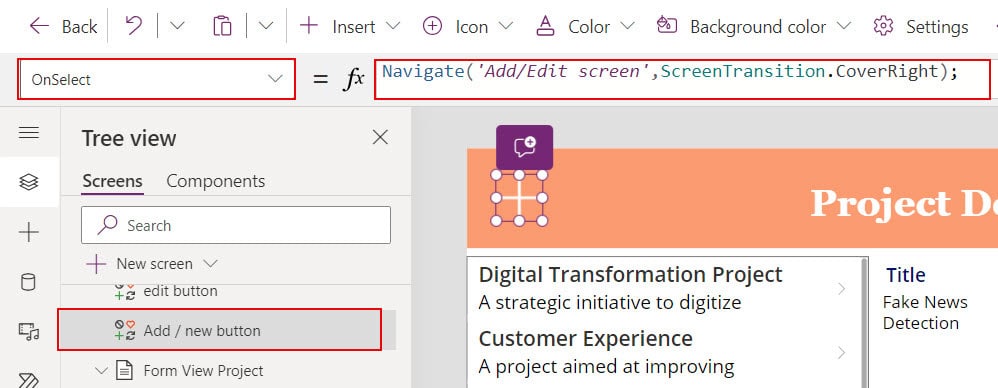
4. To check this, preview the app. Click the icon, and it will navigate to the third screen.
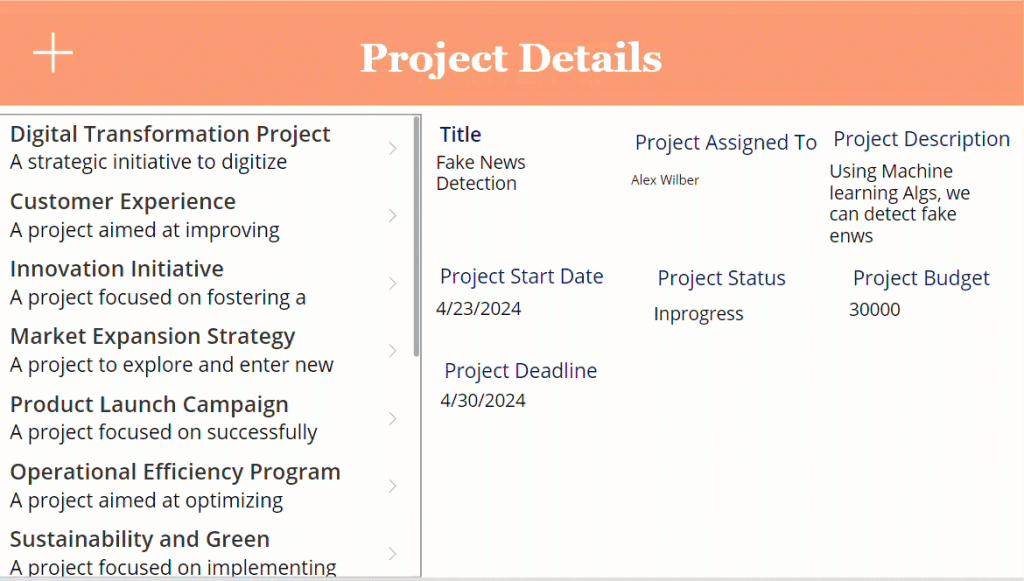
5. In the third screen, add a back arrow icon to return to the previous screen. In the Onselect property of the icon, paste the formula below.
Back()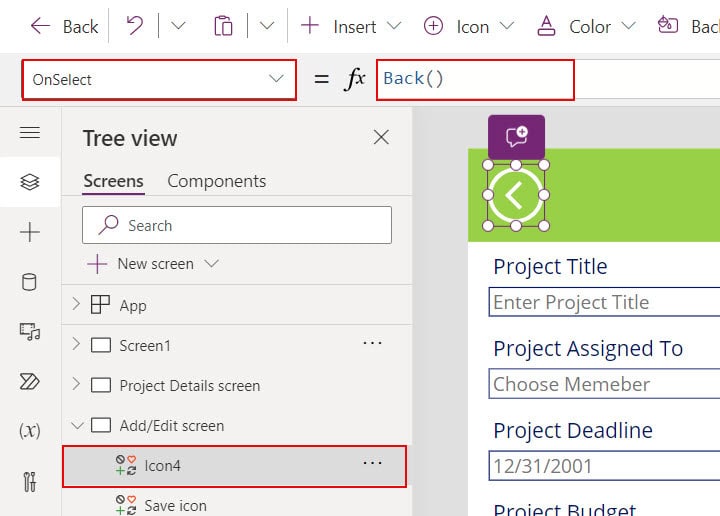
6. Look at the example below; when I clicked the icon, it returned to the previous screen.
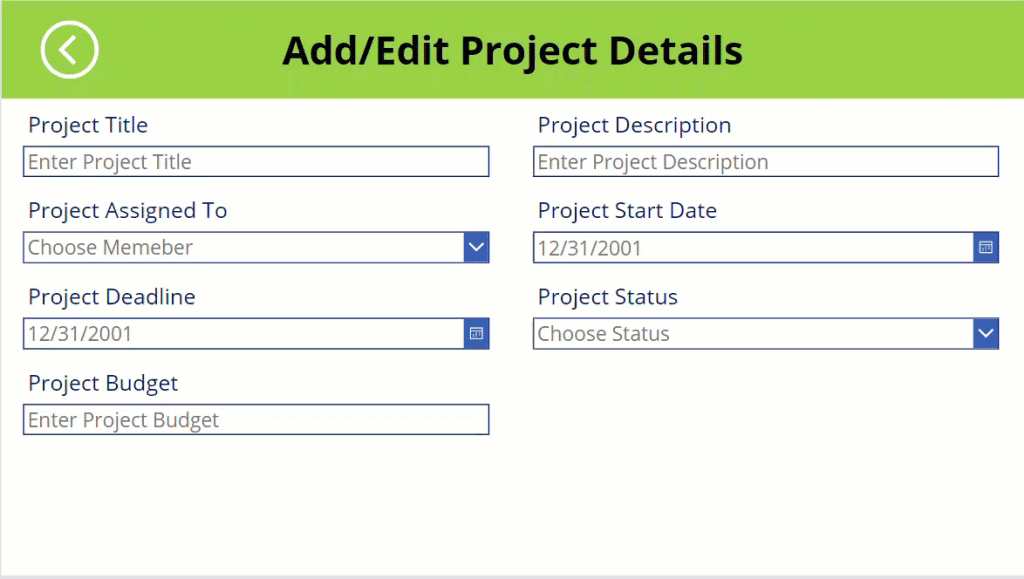
Now, save and preview the app. You’ll be notified that clicking those buttons navigates between screens.
PowerApps navigate to URL
In Power apps, we can use the Launch function to navigate to a URL. Here’s a simple example of how to use PowerApps to navigate to the URL.
Example: In this example, After submitting the form, I want to see the previously submitted details.
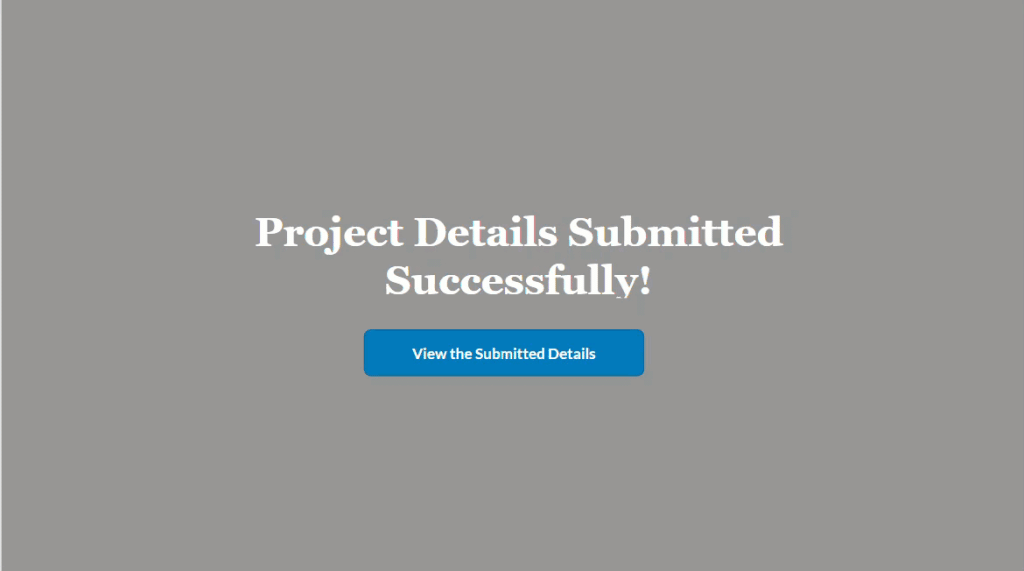
Follow the steps below to achieve the above example.
1. Add a button control to the screen. Set the Text property of the button.
2. Set the Onselect property of button control to the following formula.
Launch("https://szg52.sharepoint.com/sites/FinanceDepartment/Lists/Project%20Management%20Team")Replace"https://szg52.sharepoint.com/sites/FinanceDepartment/Lists/Project%20Management%20Team" with the URL you want to navigate to.
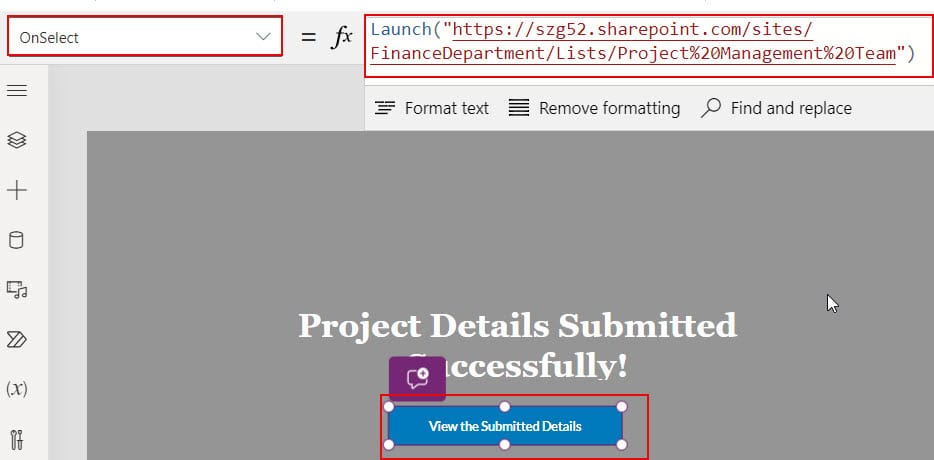
3. Save the changes and preview the app. When you click on the button, powerApps will open the specified URL in a web browser.
That’s it; like this, you can simply navigate to another screen within or out of the app using this launch function.
Power Apps navigate to screen based on value
One of Power Apps’ amazing features is the ability to dynamically navigate to different screens based on the user’s selection of values.
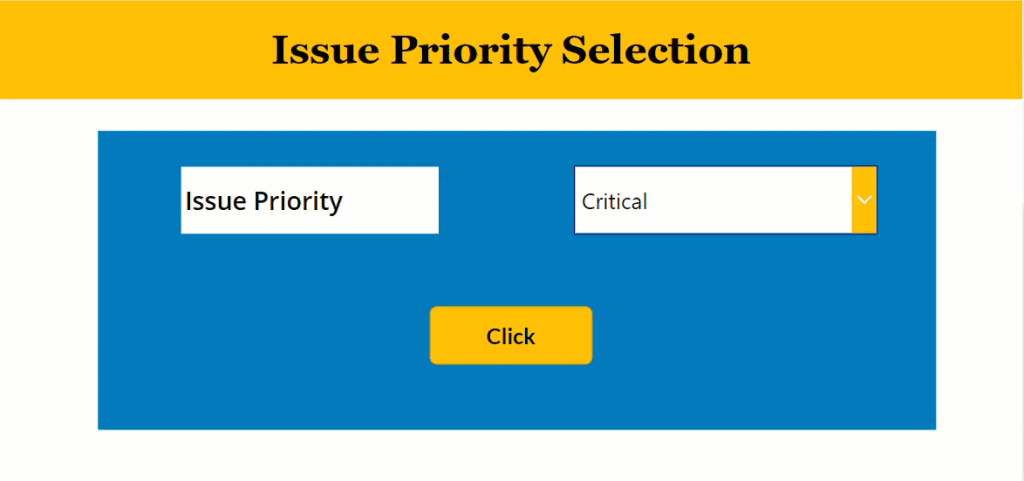
To achieve this, follow the example below.
Example: In this example, I have an “Issue Tracker” SharePoint list with a “Priority” choice column. Contains values
- High
- Normal
- Low
- Critical
Upon selecting a priority value, the goal is to navigate from the current screen to the next screen, which displays details related to the selected value.

Let’s see how to implement Power Apps navigate to screen based on value.
1. Add a dropdown control in the Power Apps screen. Then, set the below formula in the Items property of the dropdown.
Distinct('Issue Tracker',Priority.Value)Here, Distinct() will take only unique values from the SharePoint list. Issue Tracker is the source name, Priority.Value it will fetch the values of priority in to the present dropdown.

2. Now, preview the app; it will show the values we have used in the priority column of the data source.
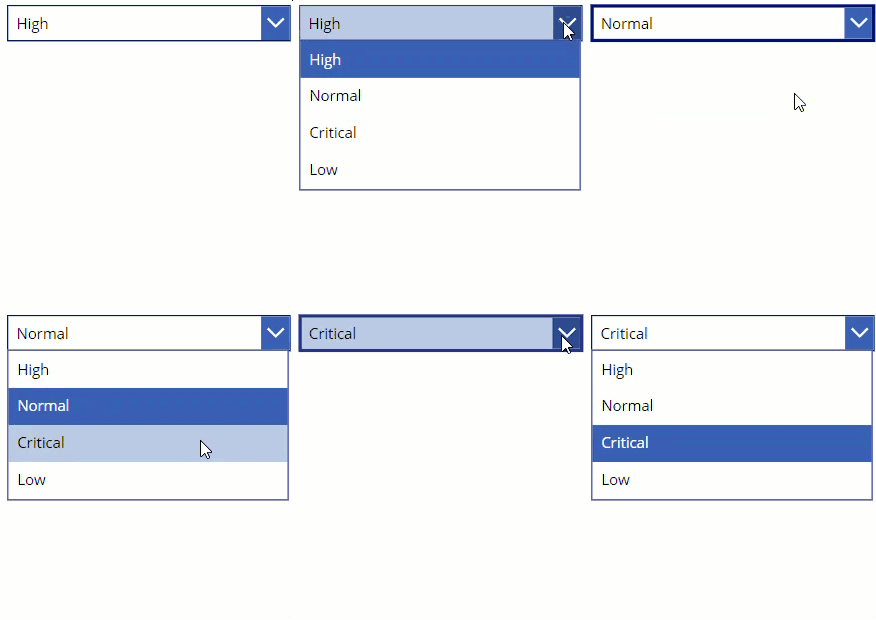
3. In the Onselect property of the dropdown. Put the formula below.
Switch( Dropdown1.Selected.Value, "High", Set(varSelectedPriority, "High"), "Low", Set(varSelectedPriority, "Low"), "Critical", Set(varSelectedPriority, "Critical"), "Normal", Set(varSelectedPriority, "Normal"))In this formula, the Switch() checks the selected value against multiple cases (“High,” “Low,” “Critical,” “Normal”) in the dropdown and sets the varSelectedPriority variable using the Set function.

4. Add one button control below the dropdown. When you click this button after selecting a value in the dropdown, you will navigate to the next screen.
Put the formula below in the Onselect property of the button.
Set(varSelectedPriority, Dropdown1.Selected.Value);Navigate(Screen2, ScreenTransition.Cover)
We will check this button control after adding the destination screen.
5. In the new screen, add a Data Table to show information related to the selected value. Then, put the below formula in the Items property of the table.
Filter('Issue Tracker', Priority.Value = varSelectedPriority)Here, the Filter() function will filter the data based on the selected value in the dropdown.

If you want to come back from the destination screen to the previous screen, add one icon and use the Back() in the Onselect property.
That’s it; I hope you understand how to navigate to other screens based on the value.
Power Apps Navigate UpdateContext
In Power Apps, the UpdateContextRecord argument in the navigate function. Allows you to update context variables or records in the destination screen based on the values passed from the source screen.
Let’s see how to use Power Apps navigate updatecontext.
Example: In this example, I want to get the reference screen details, like from which screen the current screen is coming and at what time the button/ icon was clicked.

To achieve this, follow the steps below.
1. Place an Information icon on the screen. In the Onselect property of the icon, enter the formula below.
Navigate(Screen2,ScreenTransition.CoverRight,{_referenceScreen:App.ActiveScreen.Name,_whenClicked:Now()})Here, the variables _referenceScreen and _ whenClicked replace the update context record argument. The first variable contains information on the current screen details, and the second variable contains the current time using the Now() function.

2. Save and preview the app. Then, click the information icon to get the reference screen details.
Like this, you can use the update context argument in the Power Apps navigate function.
I hope this article is relevant to your search. Based on the examples I’ve provided, you can customize them to suit your needs.
Here, I have explained the Power Apps navigate, back function in Power Apps, screen transition Power Apps, Power Apps button to the next screen, Power Apps navigate to screen based on value, and Power Apps update context.
You may also like the following tutorials:
- Data Table Control in Power Apps
- Power Apps Radio Button Control
- PDF Viewer Control in Power Apps
- Gallery Control in Power Apps
- Power Apps Gallery Conditional Formatting
- Power Apps WeekNum and ISOWeekNum Function
Bijay Kumar
After working for more than 15 years in Microsoft technologies like SharePoint, Office 365, and Power Platform (Power Apps, Power Automate, and Power BI), I thought will share my SharePoint expertise knowledge with the world. Our audiences are from the United States, Canada, the United Kingdom, Australia, New Zealand, etc. For my expertise knowledge and SharePoint tutorials, Microsoft has been awarded a Microsoft SharePoint MVP (9 times). I have also worked in companies like HP, TCS, KPIT, etc.